


· By Alia Midoun
You Pistachio Me Encrusted Tofu
I shock myself sometimes. I don't know where I get the motivation after a busy market morning and an afternoon full of meetings, but last night, I whipped up this dish for dinner. While this recipe deserves a process video, you'll have to settle for some final plating photos.
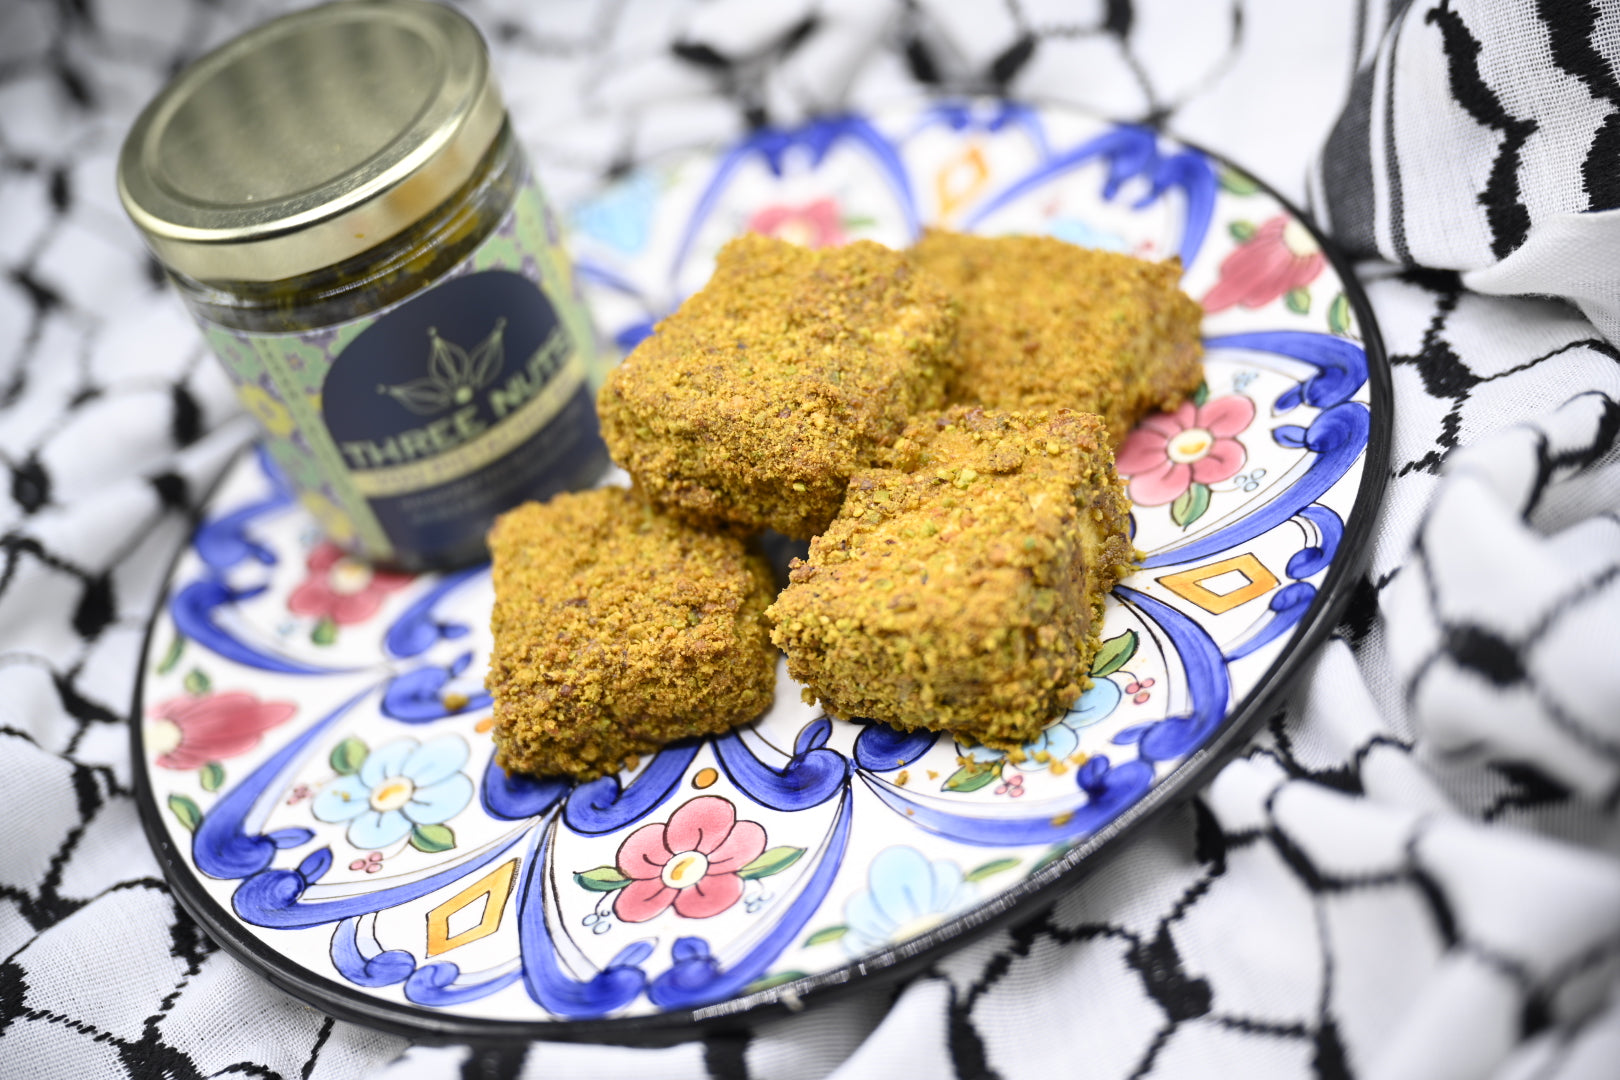
I present to you my newest kitchen concoction and minor obsession, You Pistachio Me Encrusted Tofu.
This dish is rich and full of deep flavor and 100% vegan and gluten-free.
Give it a try and impress your partner, family, or best friend.
Here's the recipe:
🌰INGREDIENTS:
- 1 block of firm or extra firm tofu
- salt
Wet:
- 2 tbsp You Pistachio Me Nut Butter
- 2 tbsp Almond Milk (or any other "milk" of your choosing)
- 1 tsp lemon juice
Dry:
- 1/2 c. Shelled pistachios
- 1 tbsp nutritional yeast
- 1/2 tsp garlic powder
- 1/4 tsp salt
- 1/4 tsp black pepper
🍴PROCESS--
- Start by boiling the tofu in salted water for 5 minutes (this is my go-to technique I learned from @wendythefoodscientist to increase flavor absorption in the pores of the tofu).
- When done, drain water, pat dry, and set aside to cool.
- Set the oven to 375 degrees and prepare a baking tray with parchment paper.
- Whisk together wet ingredients in a bowl and set aside.
- In a food processor, blend all dry ingredients until fine and pour into a bowl.
- Slice tofu into 1/2" thick pieces.
- One by one, dip the tofu slices into the wet nut butter batter and then coat with dry mix and place on baking tray.
-
Repeat steps until all pieces are coated.
- 💡TIP: Use a fork to dunk the tofu slices in wet mix, tapping the side of the bowl before adding to the dry mix. Try not to use the same utensil for the dry mix to avoid clumping. Alternatively, you can take a shake n' bake approach to coat thoroughly.
- Bake for 25-30 minutes until golden brown.
- Plate and enjoy with your favorite veggies or seasoned rice on the side.s
Butter Bing, Butter Boom! 💥